Ingredients
Step by Step Directions
- Prep the crust: Preheat oven to 400°F. Press one crust into a 9-inch pie pan and refrigerate while you make the filling.1 package pie crust
- Mix the filling: In a large bowl, stir together rhubarb, strawberries, both sugars, cornstarch, salt, orange juice, and vanilla. Let sit while the oven heats—this draws out the juices.3 ¼ cups rhubarb, 2 cups fresh strawberries, ⅓ cup light brown sugar, ⅓ cup granulated sugar, ¼ cup cornstarch, ¼ teaspoon salt, 1 tablespoon orange juice, ½ teaspoon vanilla extract
- Add filling to pie: Use a slotted spoon to scoop the fruit (not the juice) into the crust. Dot the top with butter. Optional: sprinkle extra sugar if you like it sweeter.2 tablespoons unsalted butter
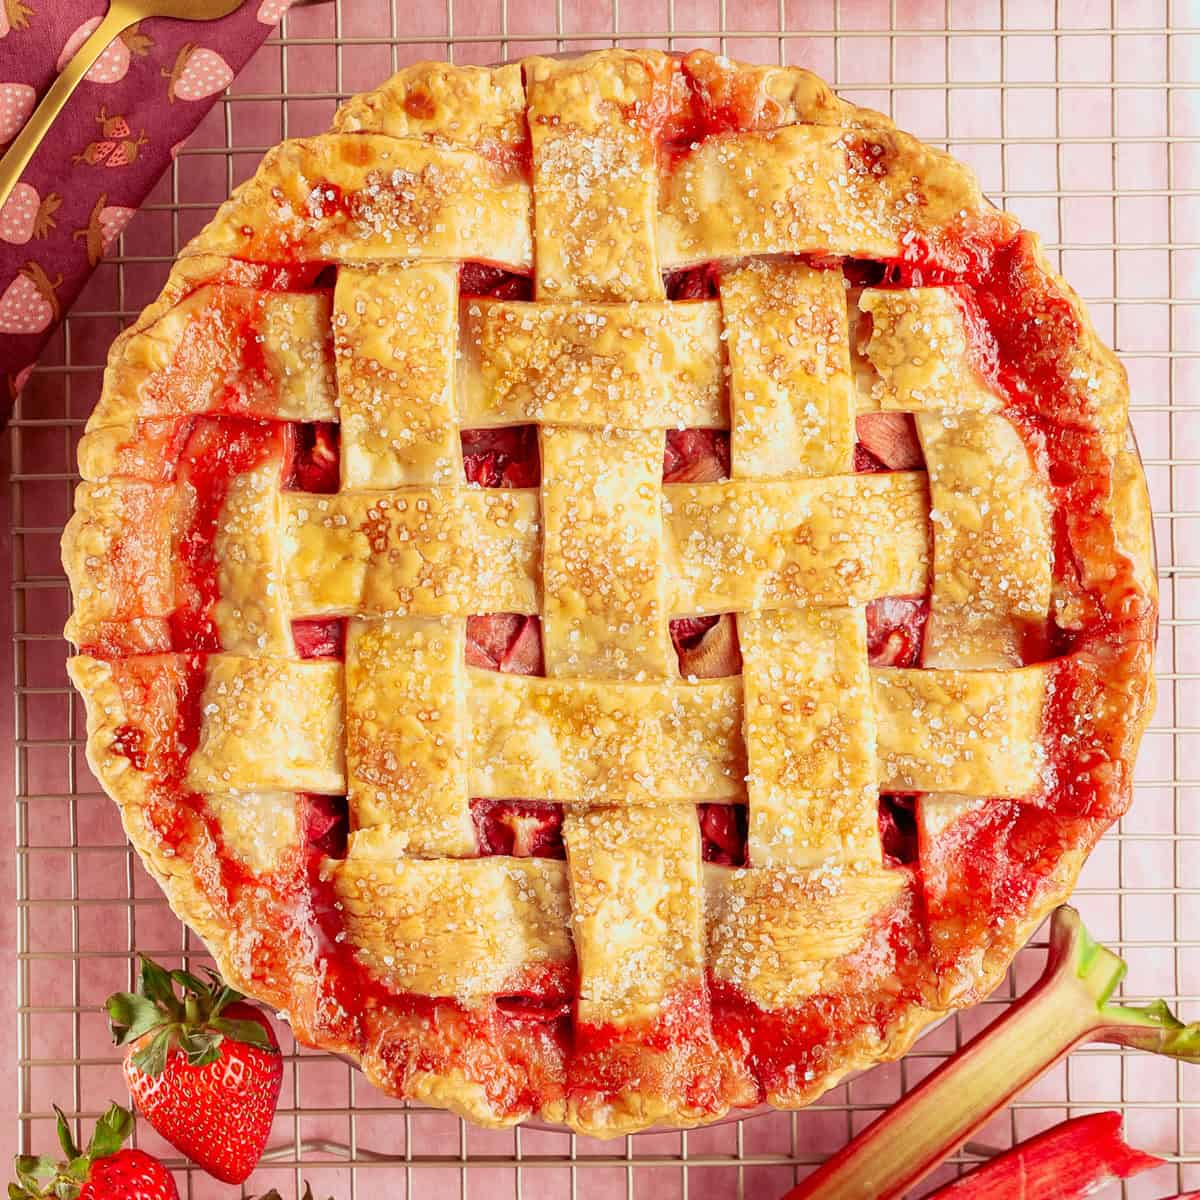
- Make the top crust: Cut strips from the second crust and create a lattice pattern, or simply place it on top with steam vents.
- Seal and decorate: Crimp the edges and brush with egg wash. Sprinkle with coarse sugar if using.1 large egg, Coarse sugar for garnish
- Bake: Place pie on a rimmed baking sheet. Bake at 400°F for 20 minutes, then reduce to 350°F and bake 30–40 more minutes. Cover the edges if browning too fast.
- Cool completely: Let cool on a rack for at least 3 hours. For best results, chill in the fridge another 3–4 hours (or overnight!) before slicing.
Nutrition
The provided nutrition information is an estimate and not guaranteed, and that the reader is responsible for verifying ingredients for allergies and dietary needs
Notes
Small Batch version Bakes a 6-inch Pie
Crust
- 1 single sheet of pie crust (store-bought or homemade), enough for bottom and a simple top (cutouts or partial lattice)
- 1⅓ cups rhubarb, sliced (about 6 oz)
- ¾ cup strawberries, quartered (about 4 oz)
- 2 tablespoons + 2 teaspoons light brown sugar
- 2 tablespoons + 2 teaspoons granulated sugar
- 2 tablespoons cornstarch
- Small pinch salt
- 1¼ teaspoons orange juice
- ⅛ teaspoon vanilla extract
- ¾ tablespoon unsalted butter, cut into small pieces
- 1 small egg (or half a large egg), beaten with ½ tablespoon milk
- Coarse sugar for garnish (optional)
