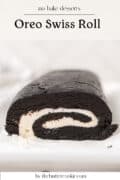
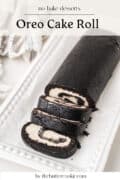

If you're looking for an impressive dessert that requires zero baking skills and just three simple ingredients, this No-Bake Oreo Cake Roll is about to become your new favorite recipe. Made with just Oreos, butter, and milk, this showstopping treat transforms everyone's favorite chocolate sandwich cookie into an elegant rolled cake that looks like it came from a fancy bakery.
Why To Make This Recipe
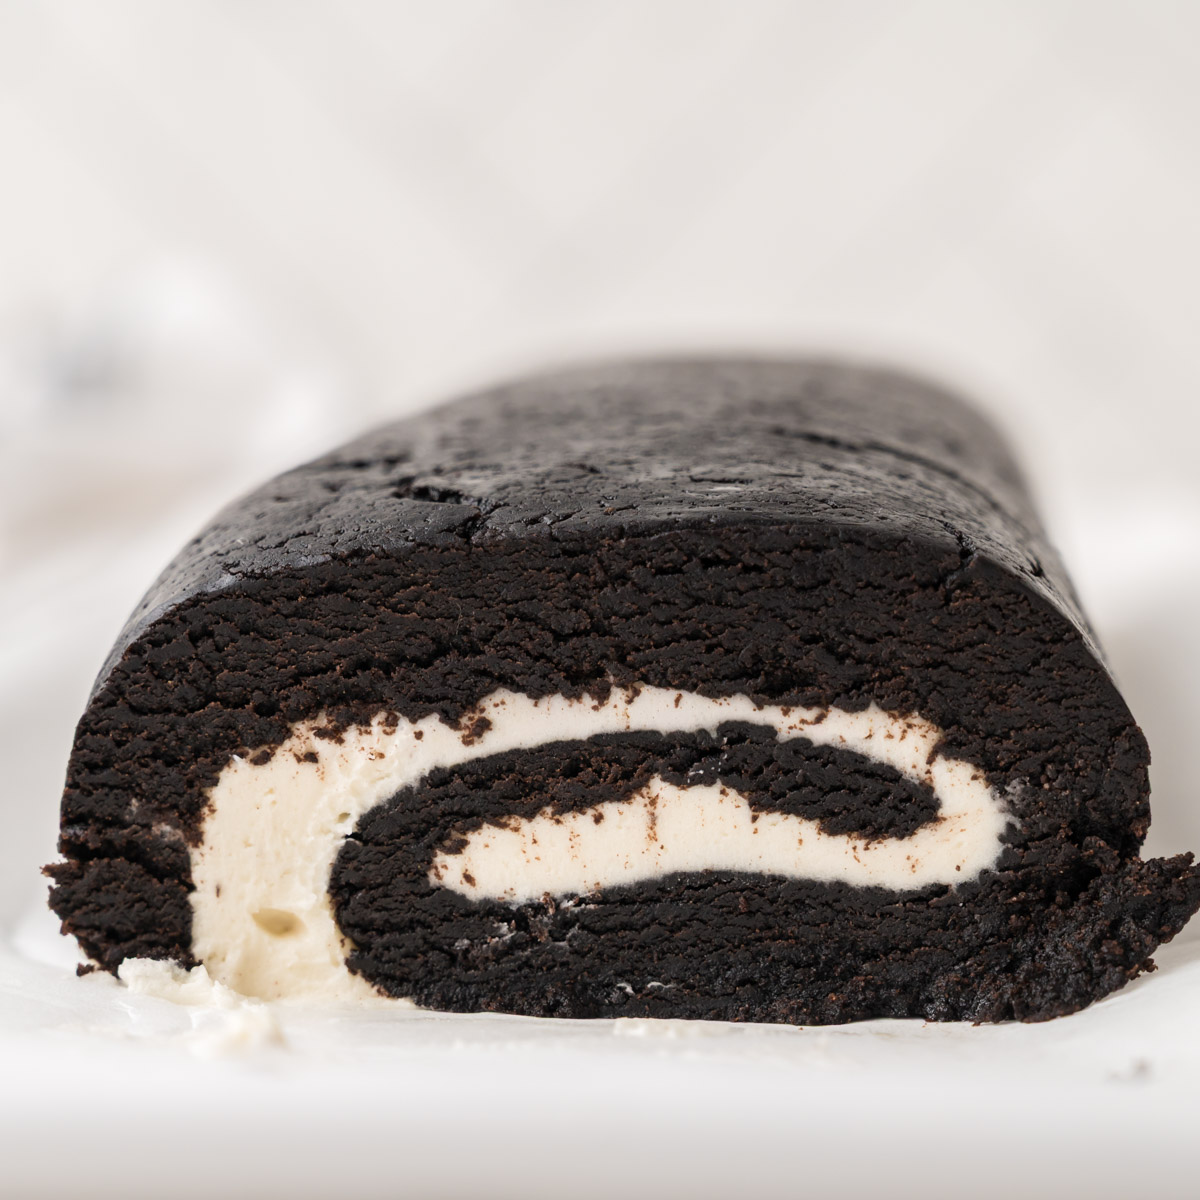
The rich chocolatey taste of Oreos shines through in every bite, while the rolling technique creates those Instagram-worthy swirls that will have everyone asking for the recipe. Best of all, you can make it ahead of time and keep it chilled until you're ready to serve, making it an ideal make-ahead dessert for busy hosts.
The beauty of this Oreo Cake Roll lies in its simplicity. There's no need to turn on your oven, measure out complicated ingredients, or worry about cake layers falling apart. The crushed Oreos combine with melted butter and milk to create a moldable, fudgy mixture that rolls up beautifully and slices into stunning pinwheel spirals. It's the perfect dessert for hot summer days when you don't want to heat up the kitchen, or any time you need a quick crowd-pleaser that tastes as incredible as it looks.
Ingredients Notes
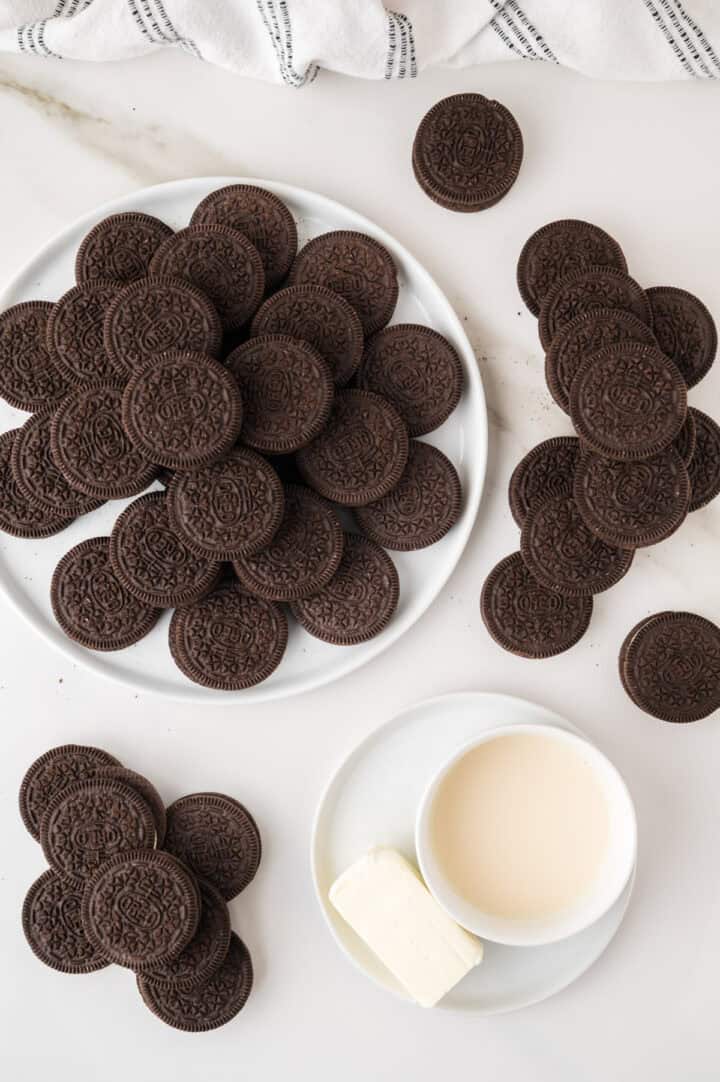
- Oreos: Double stuffed Oreos are a must. If you can't find the right size package of Oreos, a smaller package can be used, but the amount of milk should be adjusted accordingly. Start with half the amount and then add more by the teaspoon until you get the right consistency.
- Butter: unsalted butter and imperial margarine sticks both work fine.
- Milk: Whole milk and almond milk both work fine.
Can I add other ingredients to the mixture? While the beauty of this recipe is its simplicity, you could fold in mini chocolate chips, chopped nuts, or even use chocolate milk instead of regular milk for extra chocolate flavor.
Steps To Make Your Oreo Swiss Roll
Helpful Notes
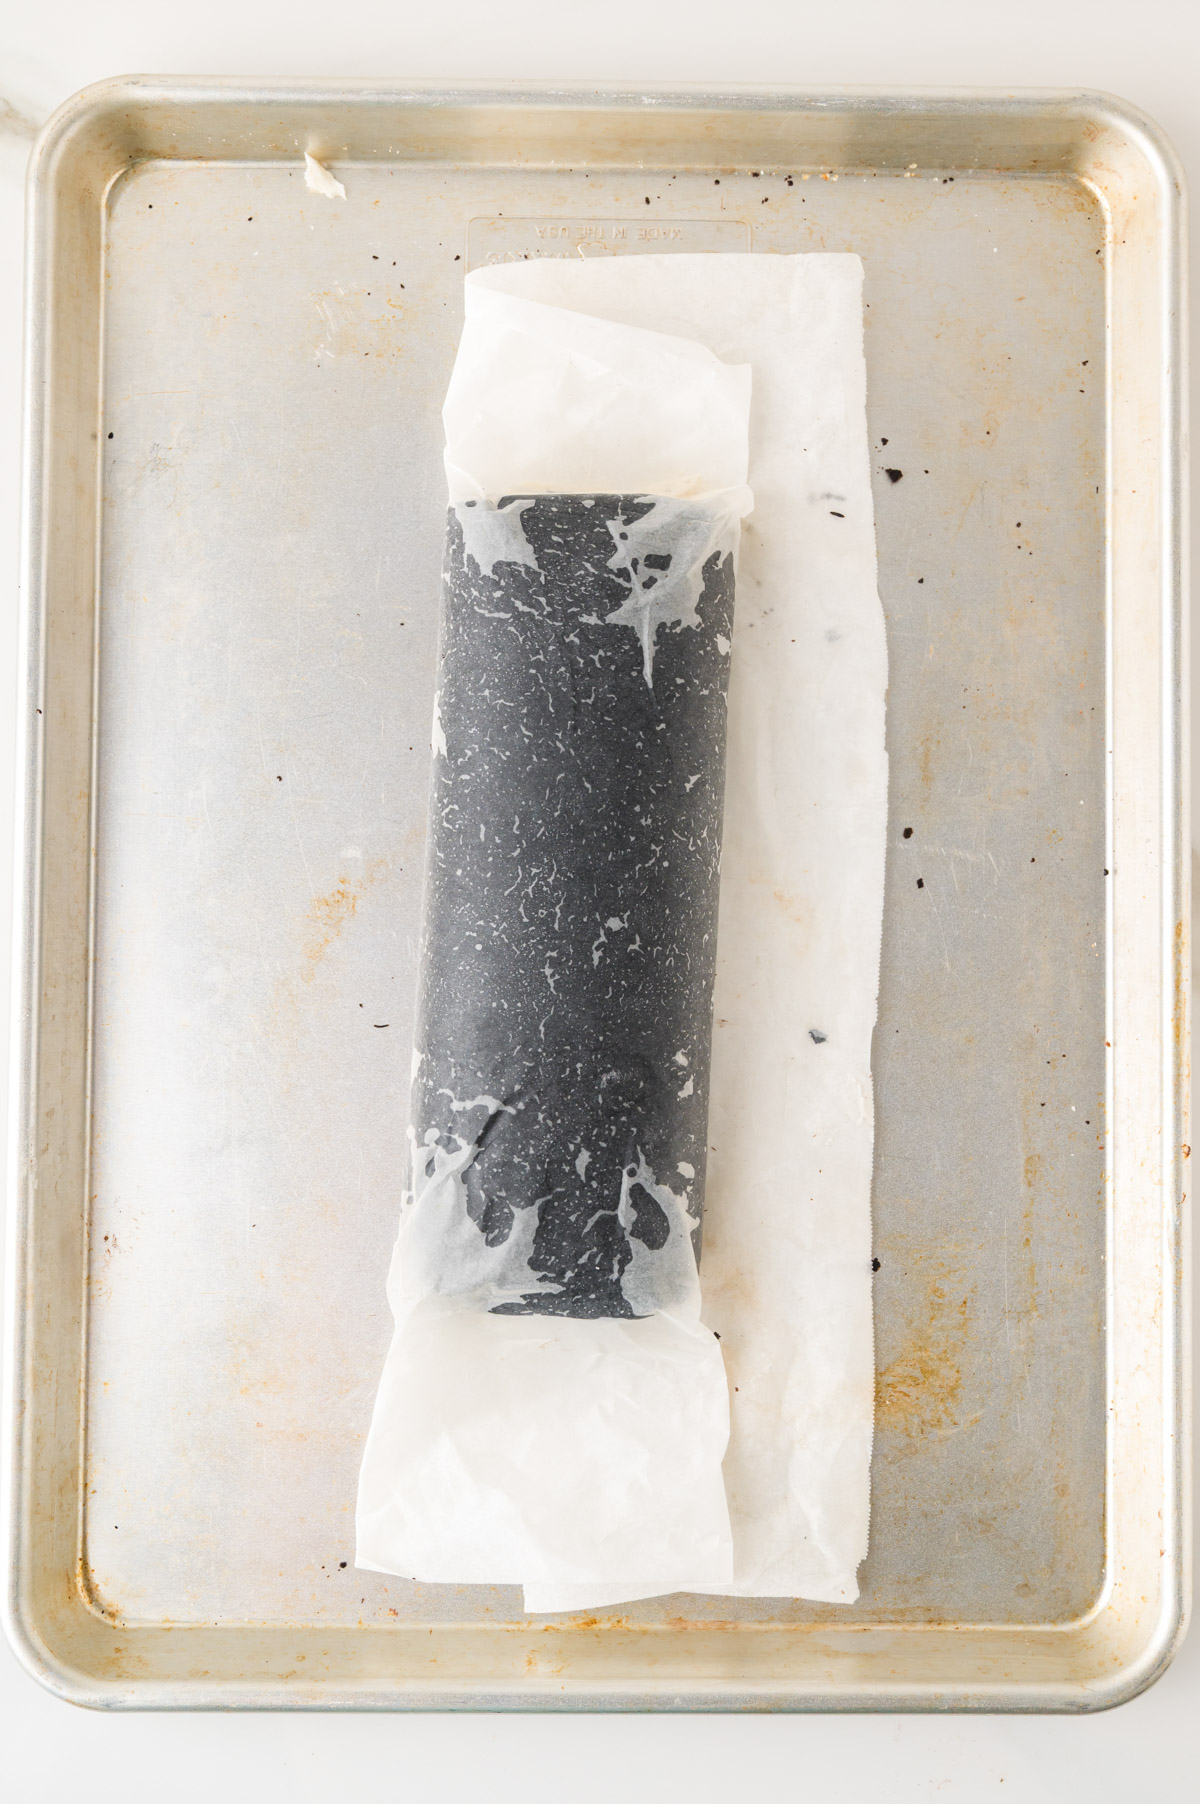
- Keep in the fridge when not eating, it will get warm and is hard to slice when not cold. Roll the Oreo and filling tightly and keep rolled tightly in parchment wrap in the fridge. You should be able to see the dark Oreo color through the parchment, if using white parchment paper.
- If the roll cracks, that's normal and alright, simply press back together as well as you can.
How To Store
Store in an airtight container in the fridge for up to 5 days for best results. Preferably slice the roll before storing.
FAQs: No Bake Oreo Swiss Roll
If you've added too much milk, mix in additional crushed Oreos until the mixture reaches the right consistency. It should be firm enough to roll without sticking to the plastic wrap excessively.
Since this is a no-bake recipe, the mixture is more forgiving than traditional cake rolls. Make sure your mixture has the right consistency (not too dry), and roll it up using plastic wrap for support. Chilling helps it hold its shape.
Absolutely! This is actually a great make-ahead dessert. You can prepare it 1-2 days in advance and keep it wrapped tightly in the refrigerator until ready to slice and serve.
Yes! Wrap the cake roll tightly in plastic wrap and then aluminum foil. It can be frozen for up to 2-3 months. Thaw in the refrigerator overnight before slicing and serving.
Use a sharp knife and wipe it clean between each slice. You can also run the knife under hot water, dry it off, and then slice for the cleanest cuts. A serrated knife can also work well.
A food processor works best for fine, even crumbs. If you don't have one, place the Oreos in a sealed plastic bag and crush them with a rolling pin or the bottom of a heavy pan.
No Bake Oreo Swiss Roll
Ingredients
Equipment
Step by Step Directions
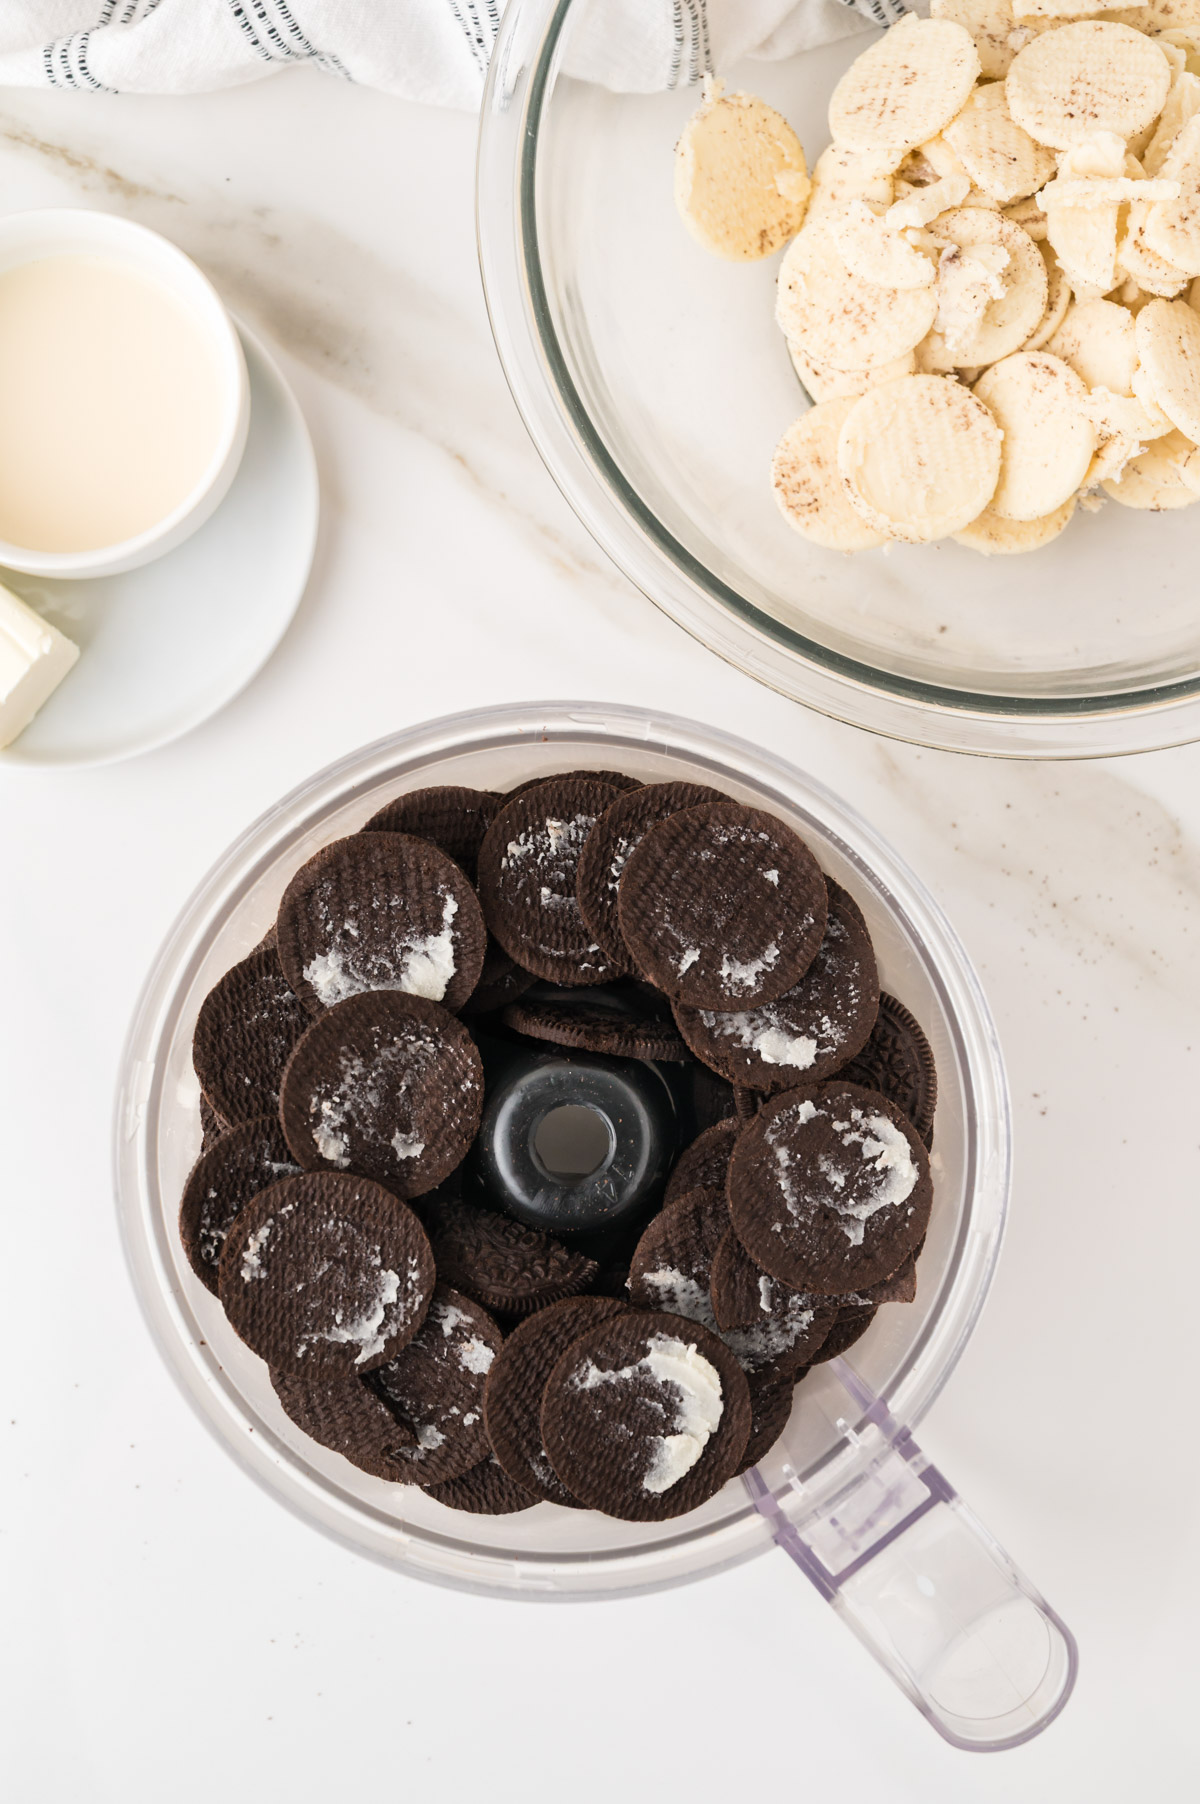
- Start by separating the Oreos, place the chocolate cookies in your food processor and set the white cream filling aside for now.
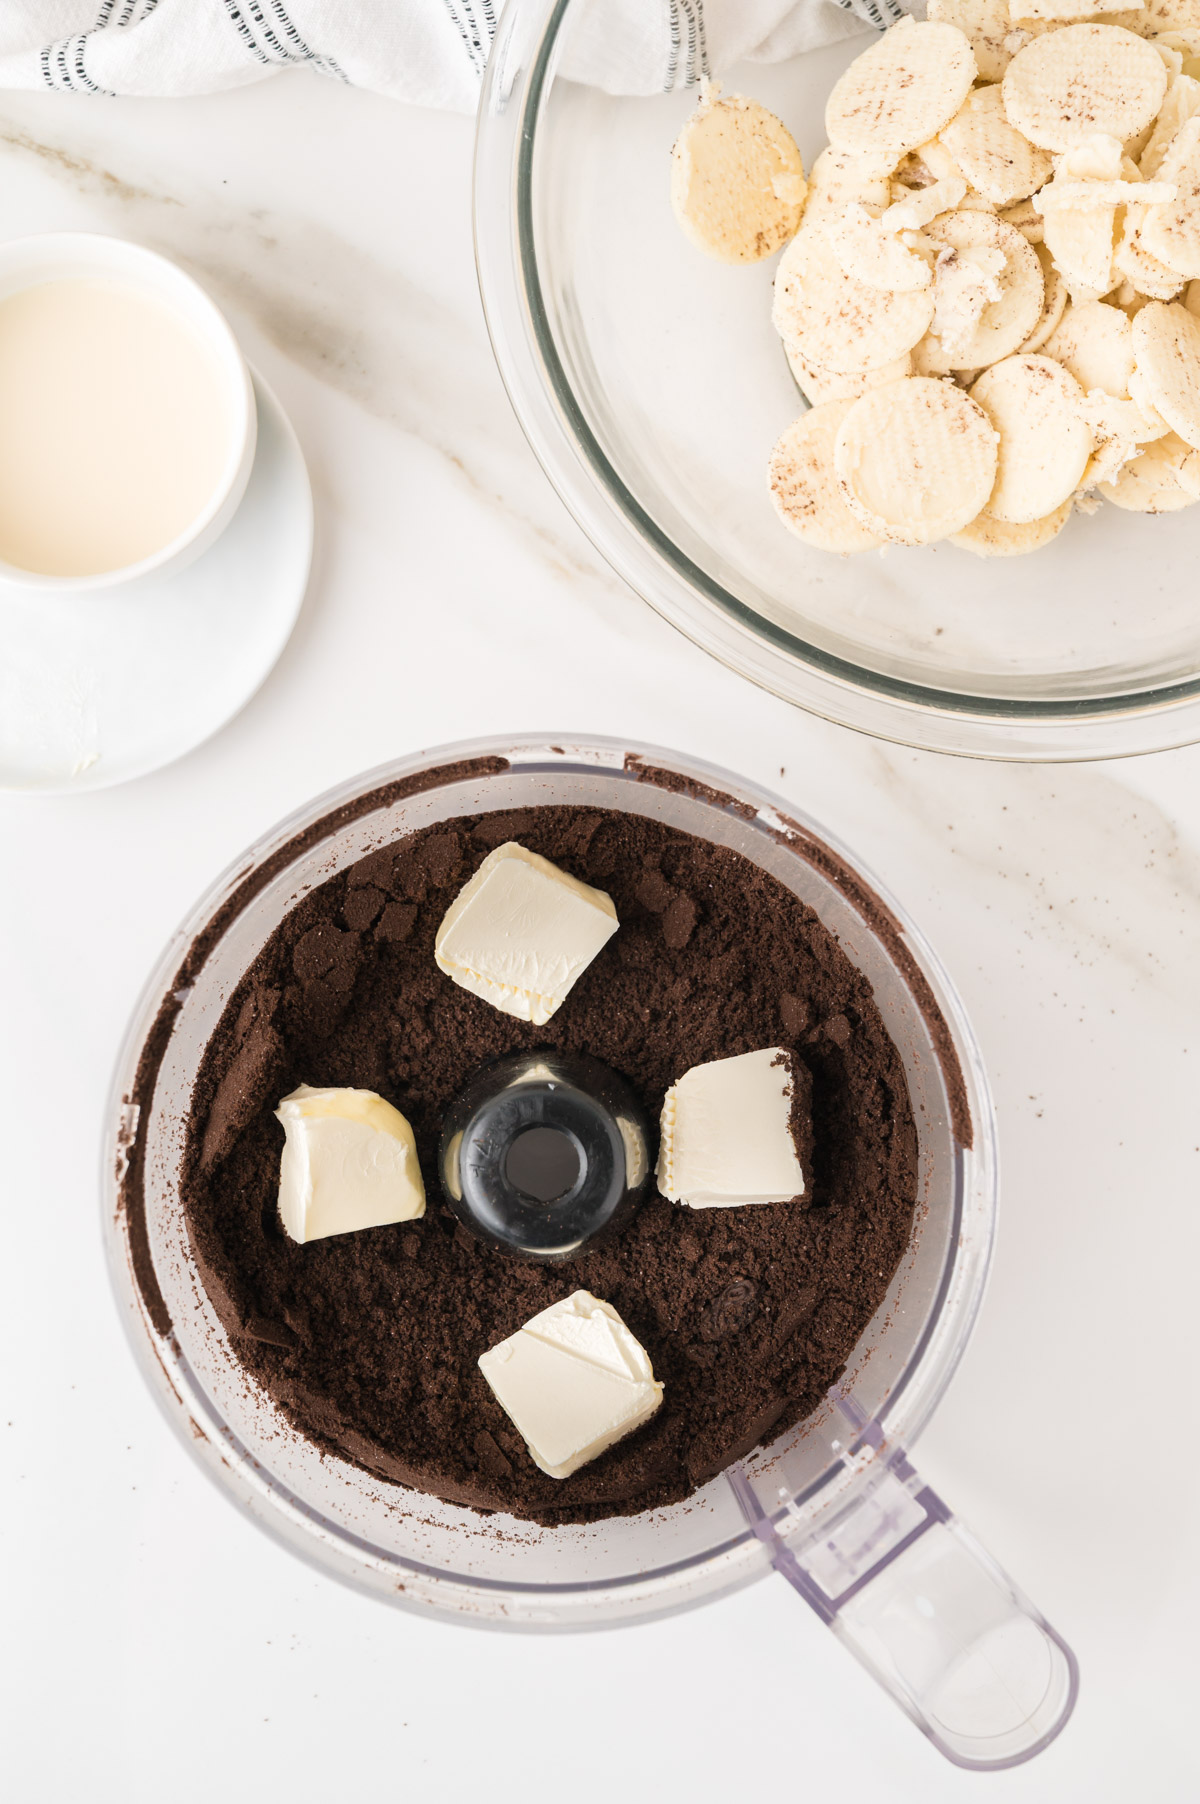
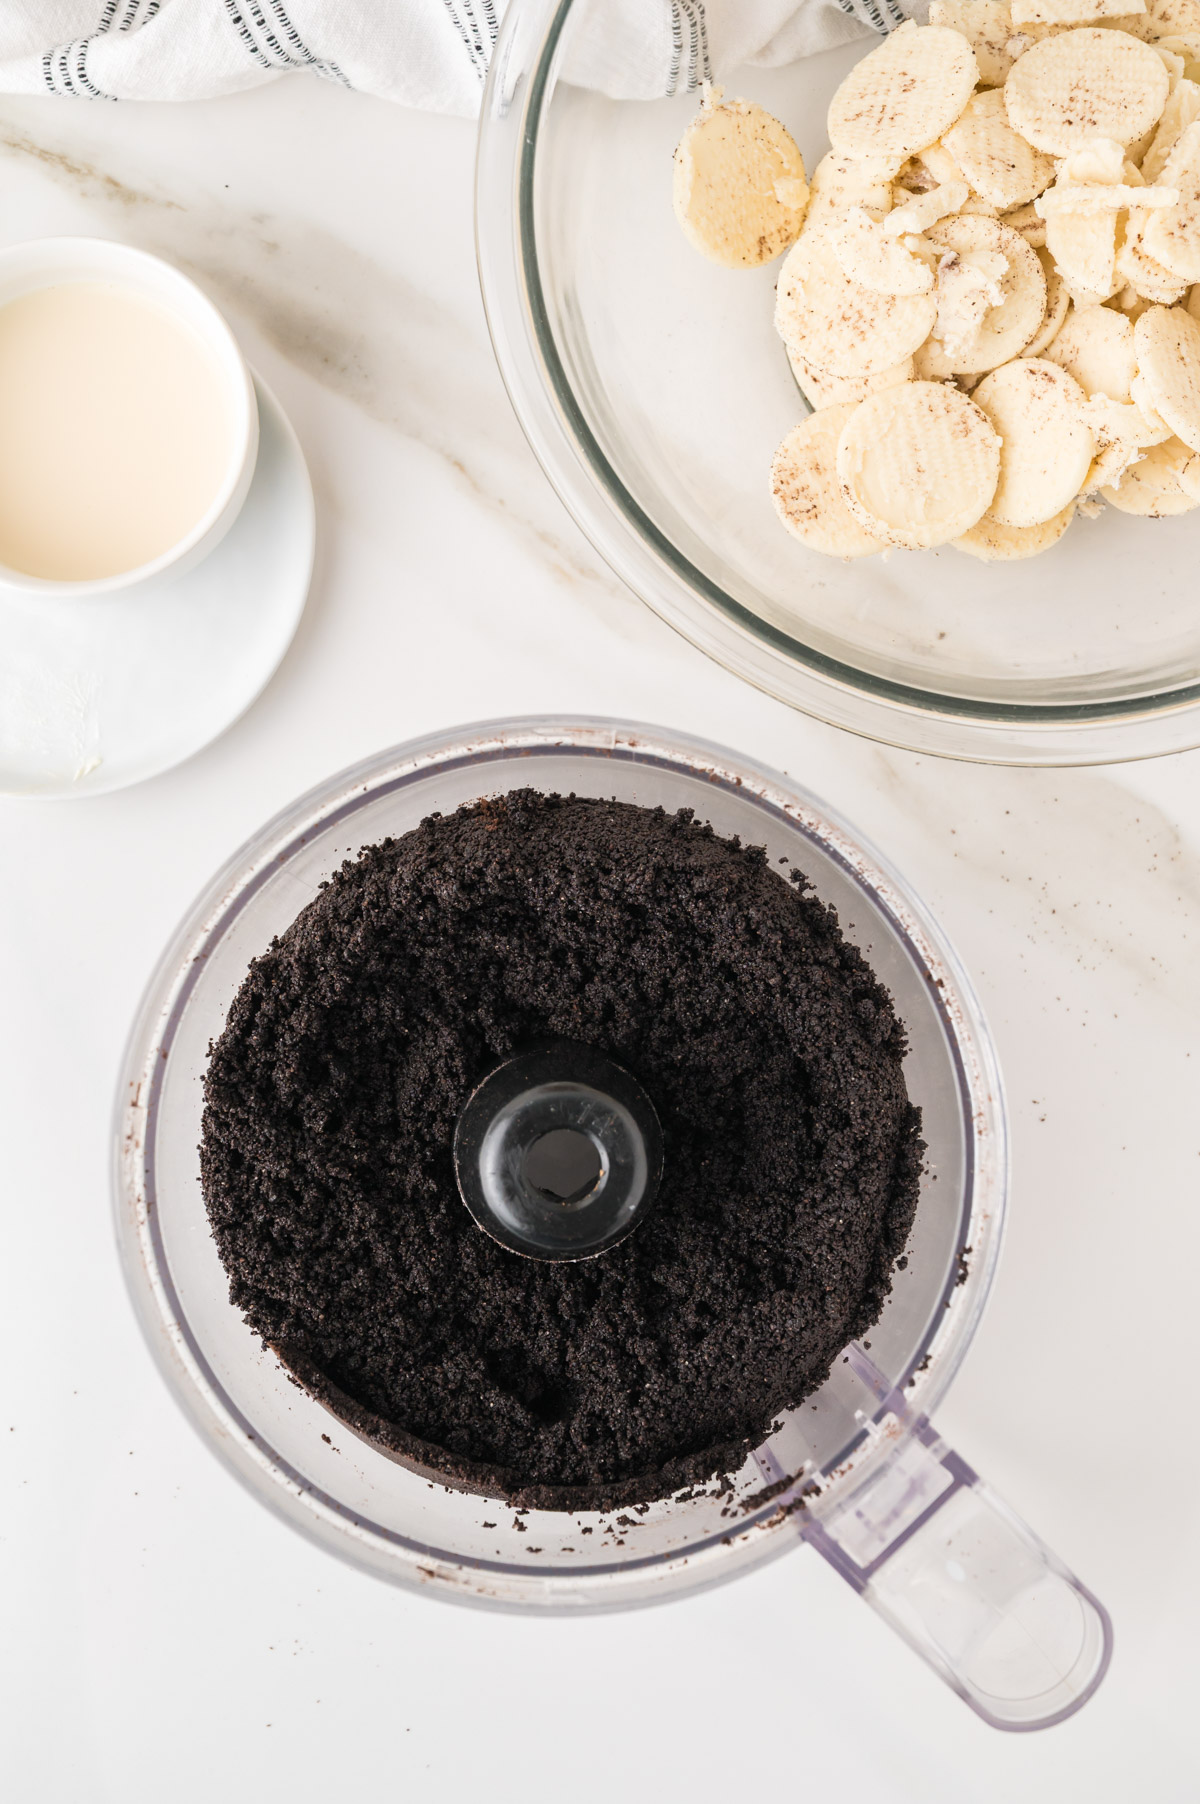
- Process the chocolate cookies into crumbs, then add in the butter and 4 tablespoons of milk and process again into a dough.
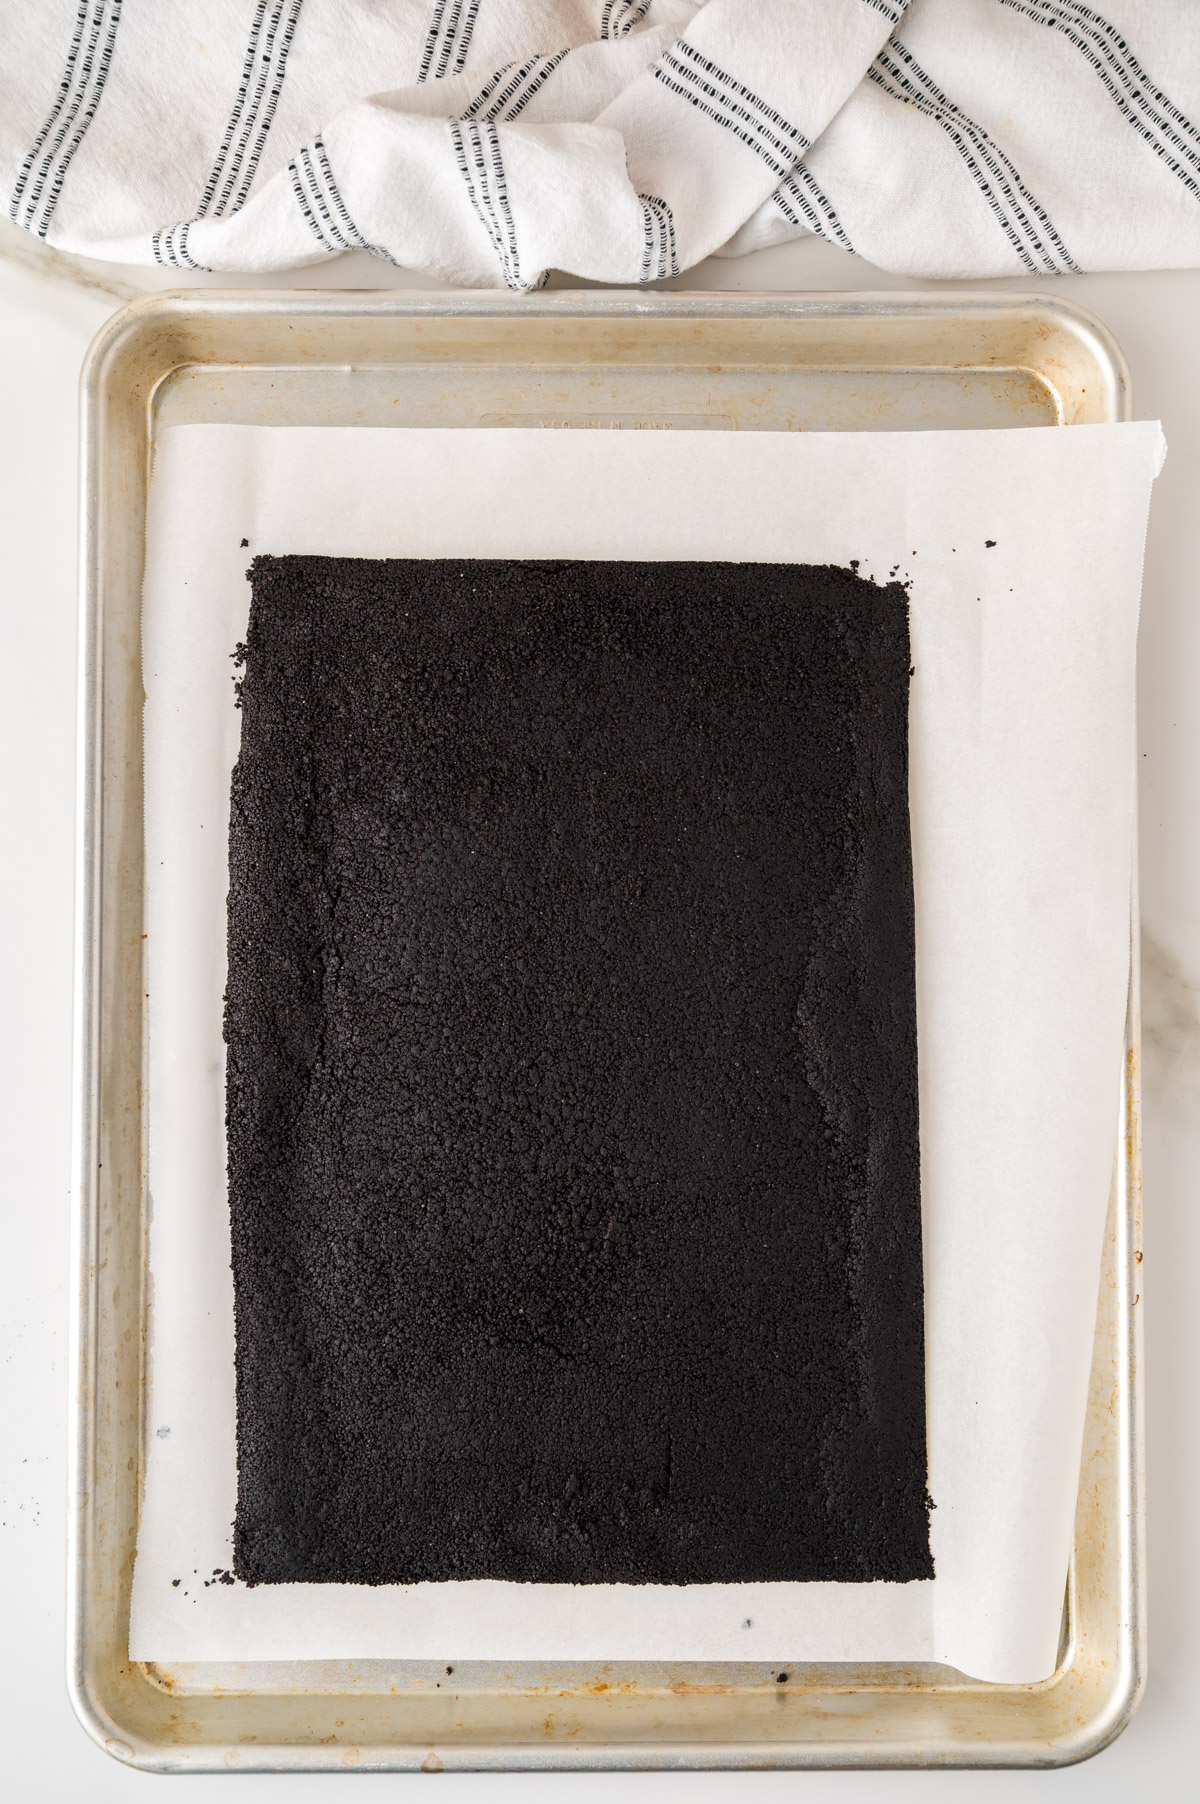
- Knead the dough until it's pliable without crumbling, then roll it out to about 8 inches by 12 inches, on a parchment lined baking sheet. You may need to use your hands and then even it out with a rolling pin, then set aside.
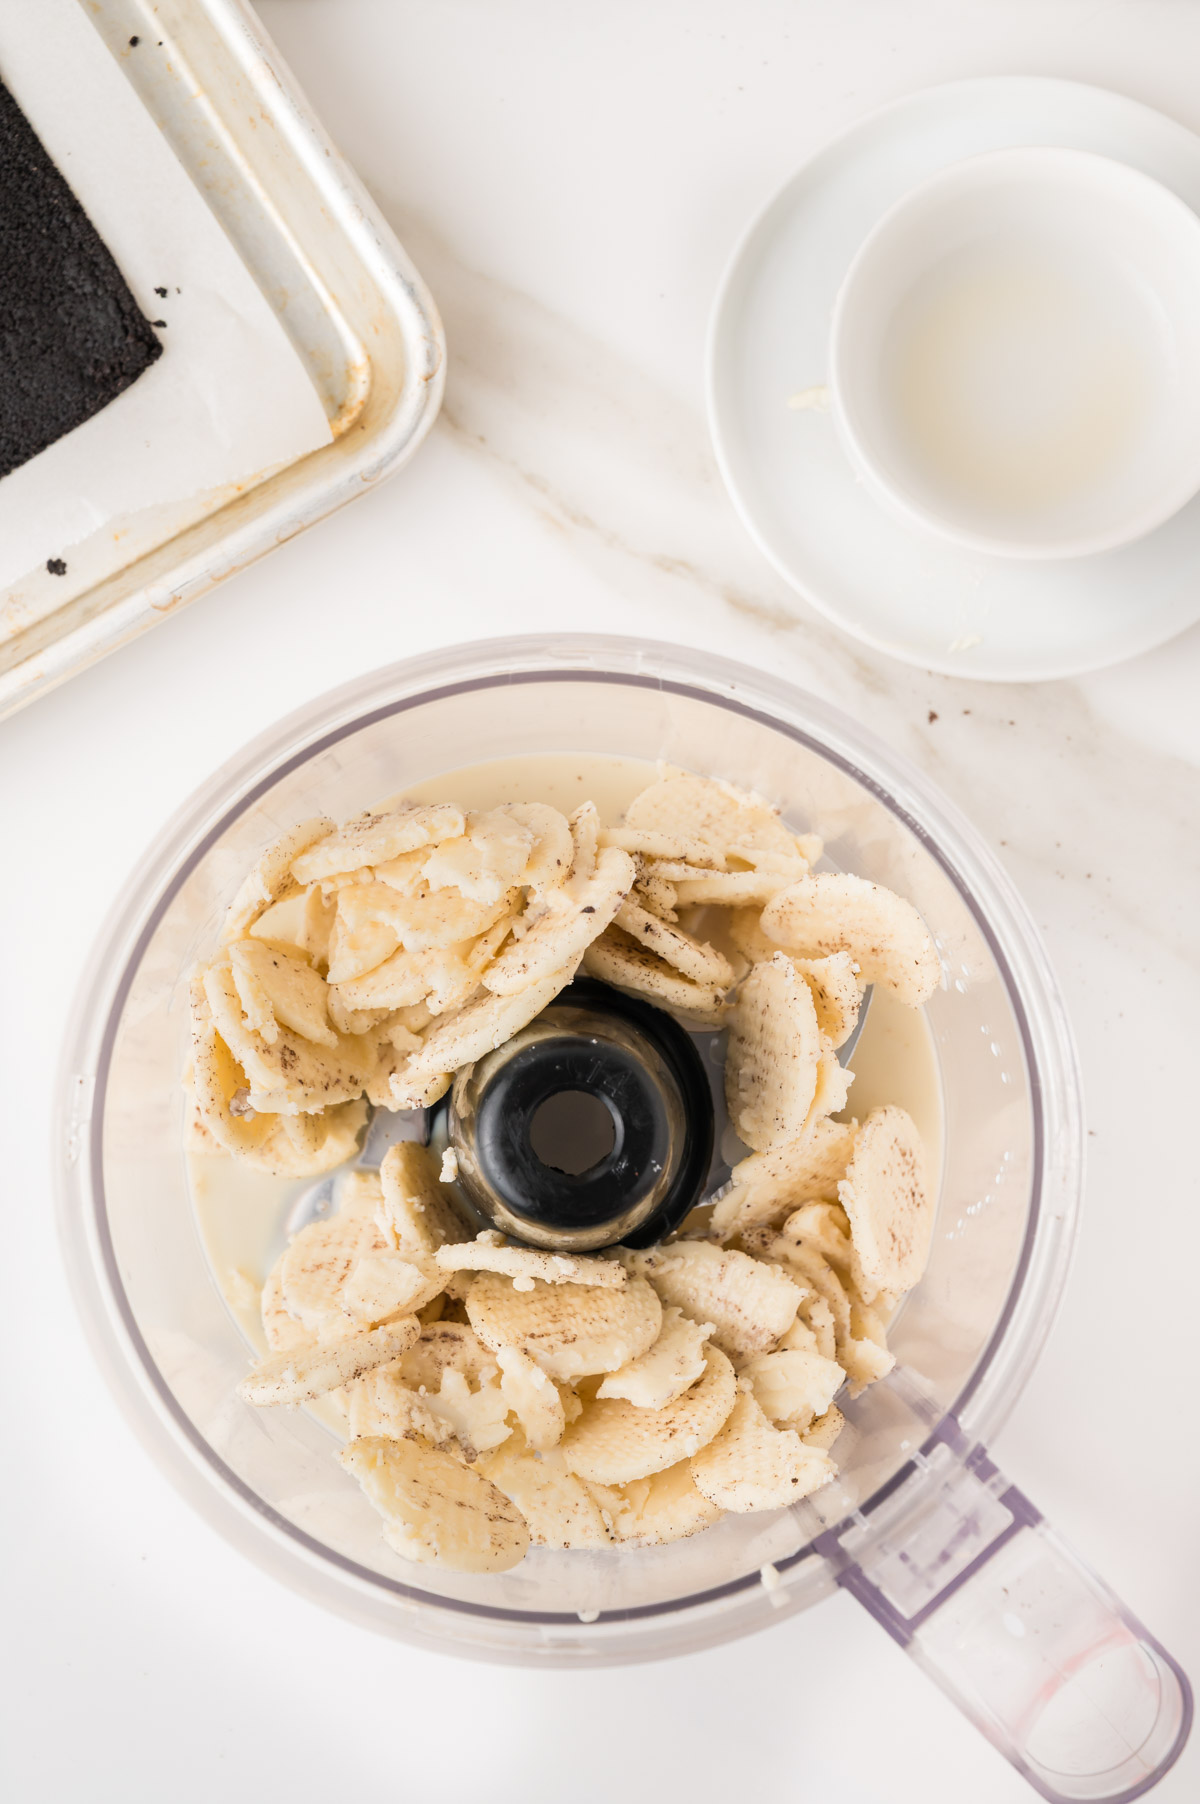
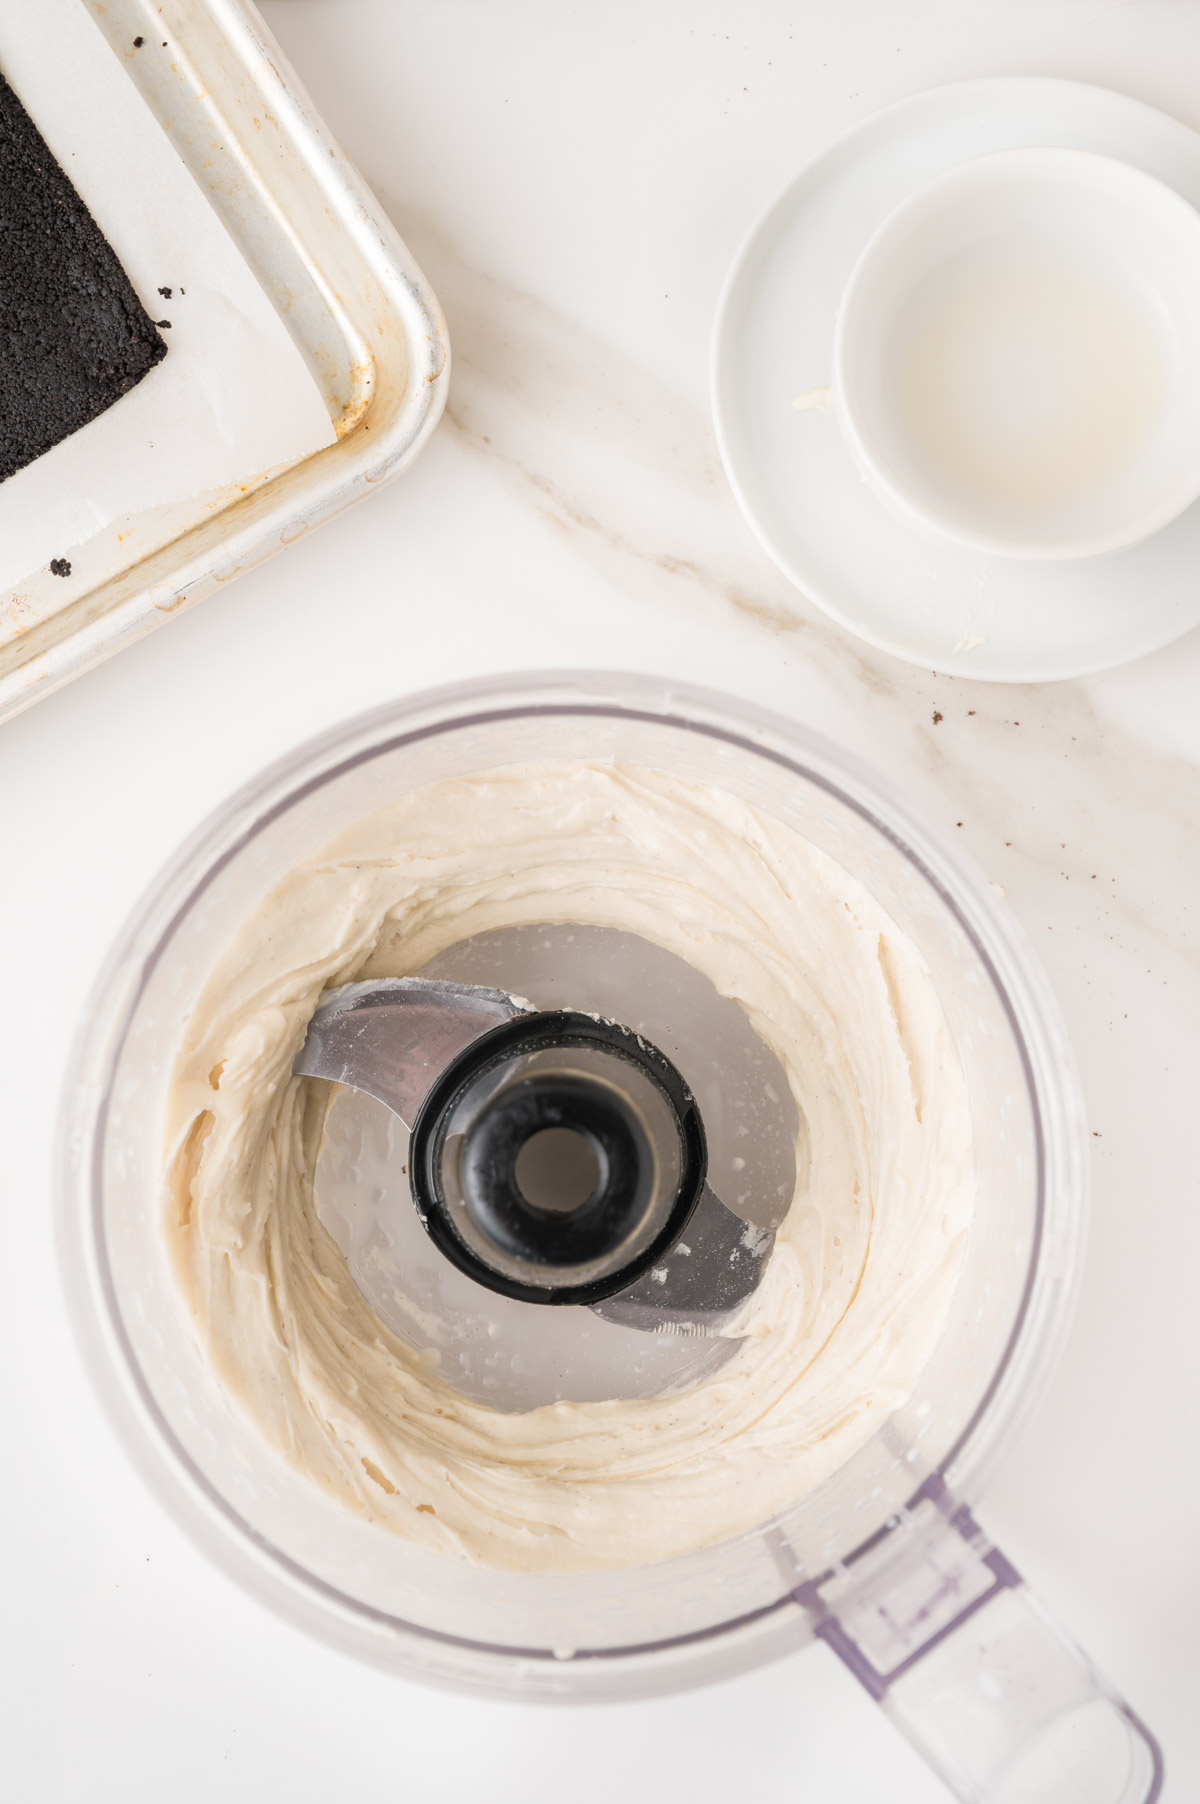
- Wash your food processor and then add the white cream filling and the rest of the milk to the food processor and process until smooth.
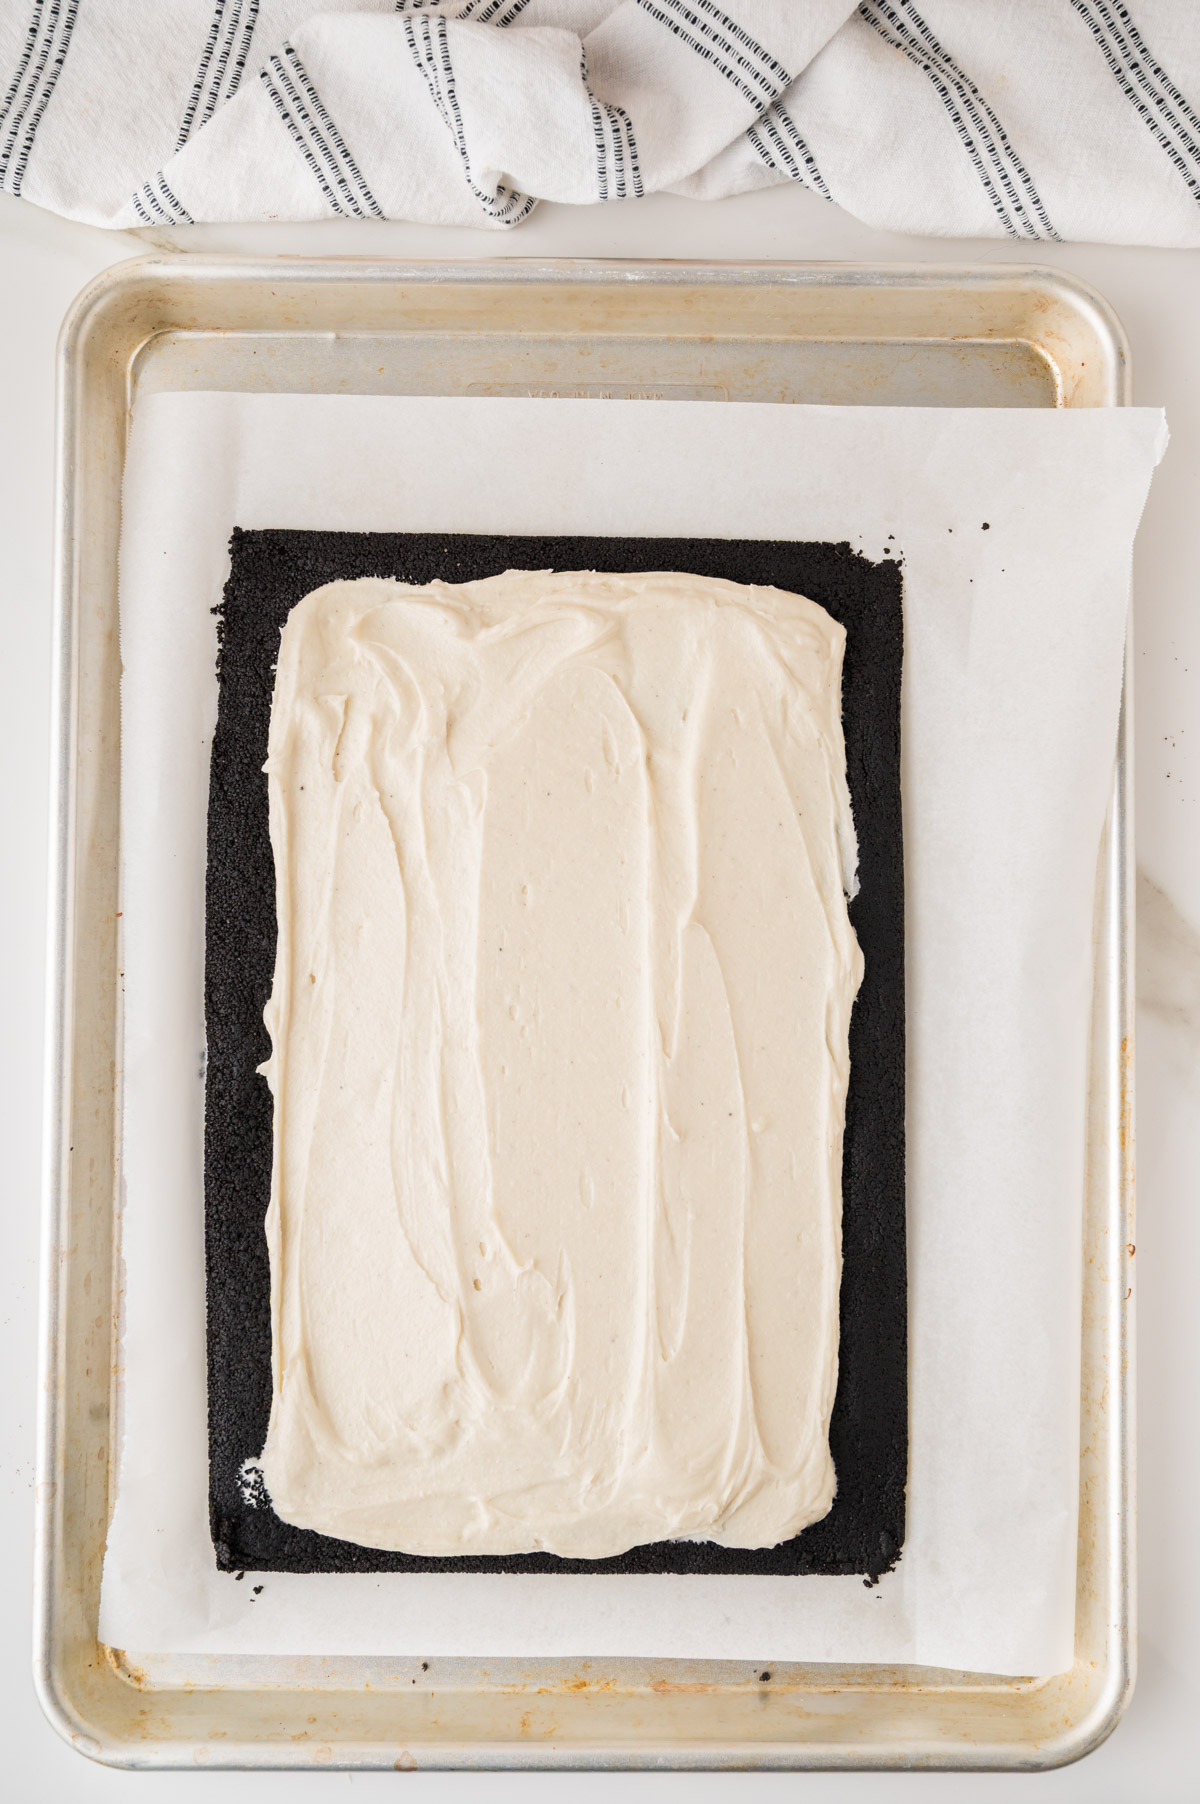
- Spread the cream mixture on top of the rolled out crumb mixture, then roll up tightly, so you have an 8 inch long log, using the parchment paper to help. Keep rolled tightly inside the parchment paper.
- Let set in the fridge for at least 2 hours.
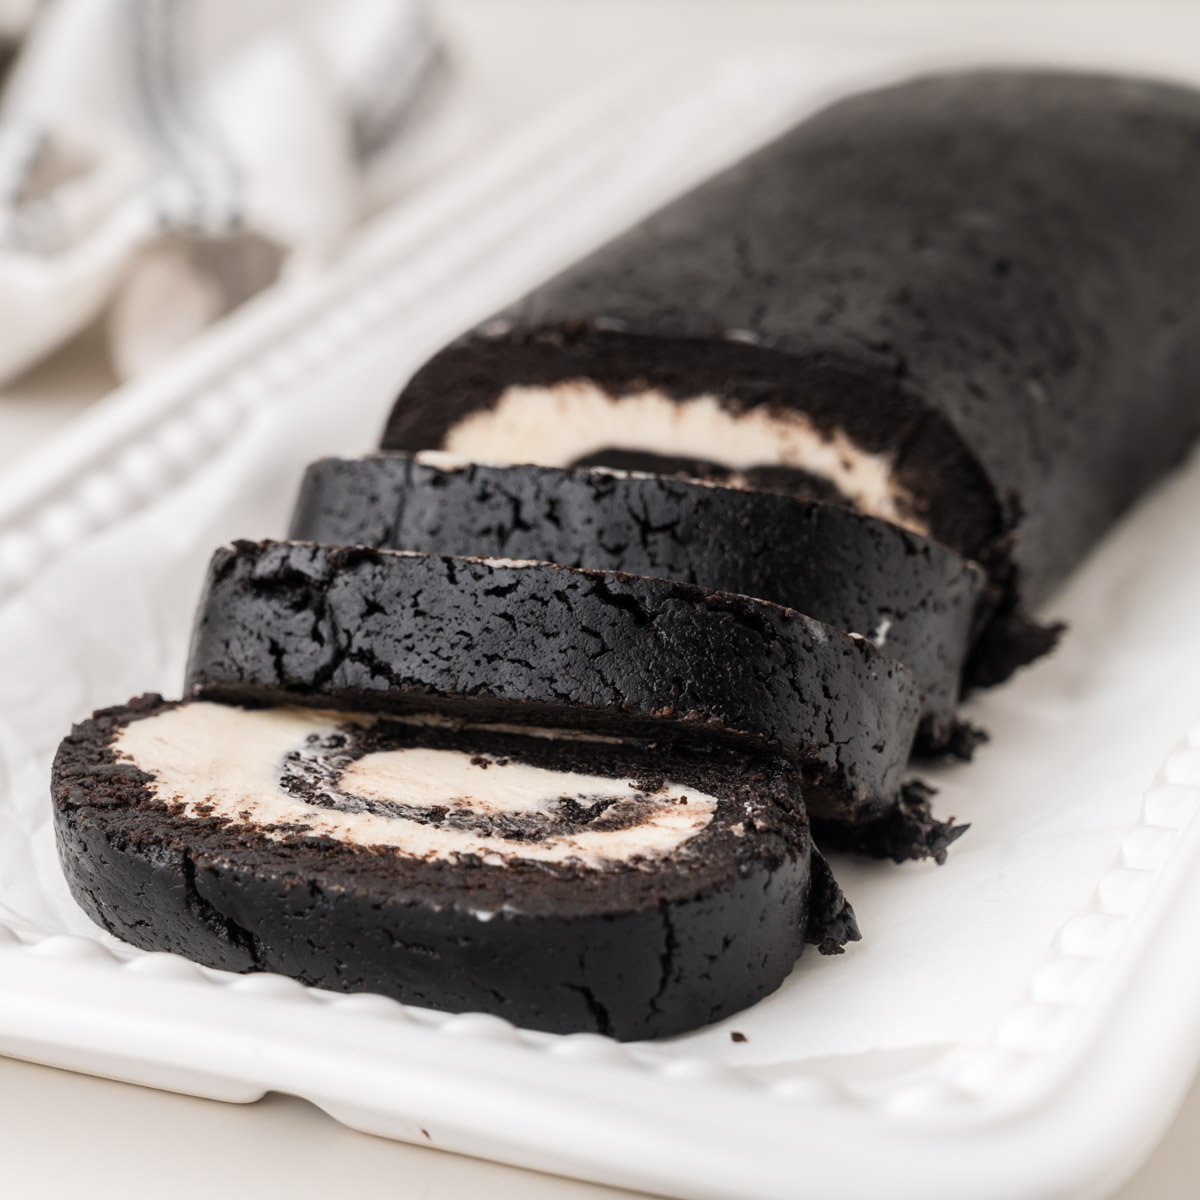
- Remove from the fridge to cut into ½ inch slices and enjoy!
Nutrition
The provided nutrition information is an estimate and not guaranteed, and that the reader is responsible for verifying ingredients for allergies and dietary needs